How to use --PRODUCT
Gently upper and lower belts
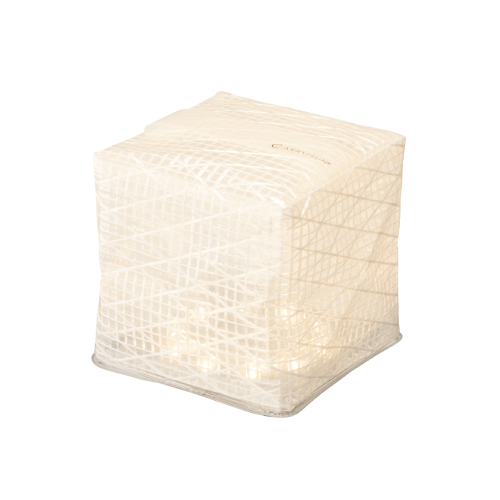
When pulled, it becomes a dice shape
When folding, lightly press from above

The lighting mode changes each time the button is pressed

-
- About 5 seconds
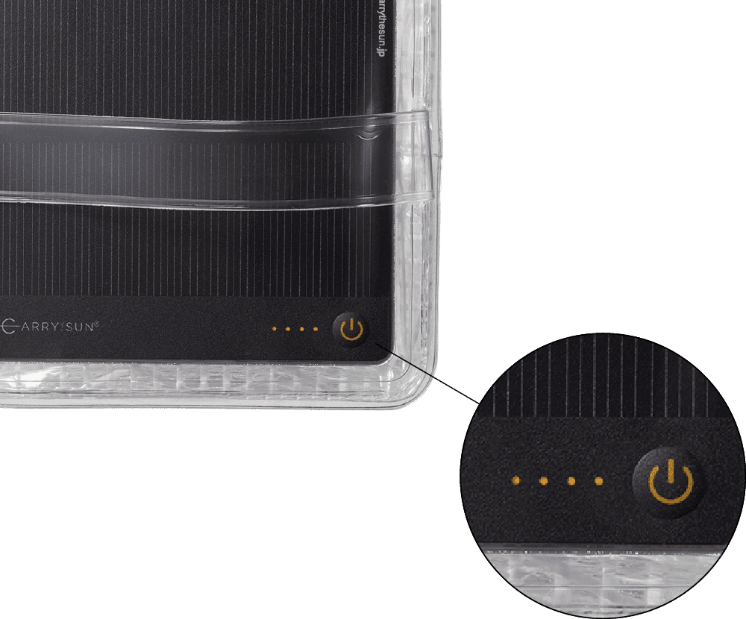
Indicator lamp
Lights up and shows the remaining charge
-
- Lighting (weak)
-
- Lit (middle)
-
- Lighting (strong)
-
- Blinking
-
- Off
The continuous lighting time is (weak) about 72 hours (medium) about 42 hours (strong) about 10 hours.
You can check the estimated remaining charge by checking the number of indicator lamps.
- 1 piece: Low charge. Since the remaining charge is low, let's charge it by exposing it to sunlight.
-
- 4 pcs: almost fully charged
-

The lighting mode changes each time the button is pressed

-
- Lighting (weak)
-
- Lighting (strong)
-
- Blinking
-
- Off
The continuous lighting time is (weak) about 15 hours (strong) about 10 hours.
Charging method

The amount of solar radiation increases with sunrise and reaches its maximum around noon.
We recommend that you charge the battery in several days, using the time shown on the right as a guide.
Also, even in the optimal time zone, charging may take some time depending on the season and weather (when it is not sunny).

Make sure that the front of the panel is exposed to sunlight as much as possible. If you store it after charging, it will have about 60% remaining charge one year later, but let's charge it by exposing it to sunlight regularly for inspection.
The sun is constantly moving, so be careful not to shade the solar panels. Even on a sunny day, sunlight is reflected by the window glass, so charging through the window takes a long time.
It takes 7-9 hours in direct sunlight to fully charge the battery from zero charge.
* Do not leave the product in a hot place such as in a car or charge it.
* Turn off the light and charge.

It is unpredictable when and where disasters will occur. Just in case, let's charge it in direct sunlight on a sunny day!

-
Direct sunlight toward the sun
Please hit it firmly. -
In the shade, cloudy, and interior lights
It can hardly be charged. -
Time to charge
Names and functions of each part

Names and functions of each part
| 1. Color belt | Pull when using or storing. |
|---|---|
| 2. Clear belt | When you want to pull or illuminate from above when using or storing Hook this part on and hang it. |
| 3. solar panel | The black side is the solar panel. Charge with sunlight. |
| 4. Charging indicator(Medium only) | Displays the remaining charge. When 4 LEDs are on, it is almost fully charged. I recommend charging when it becomes one. The LED lamp flashes while charging. |
| 5. switch | Switches the display, lighting, blinking, and extinguishing of the remaining power. |
| 6. Air hole (air hole) | This is a hole through which air can escape. It is attached for easy folding. |


